Working With Android Firmware
Occasionally I get asked “How do I make my own Android build?”. In this post I’m going to give you some tips and information which will hopefully give you a better idea of what’s needed.
Step 1: Check your setup

First off you’re going to need a machine capable of running Linux and has at least 500 GB of disk space and 16 GB of RAM. I’ve written a post before about what type of hardware is ideal, but, if you want to just test the water, you can use any machine with those specs.
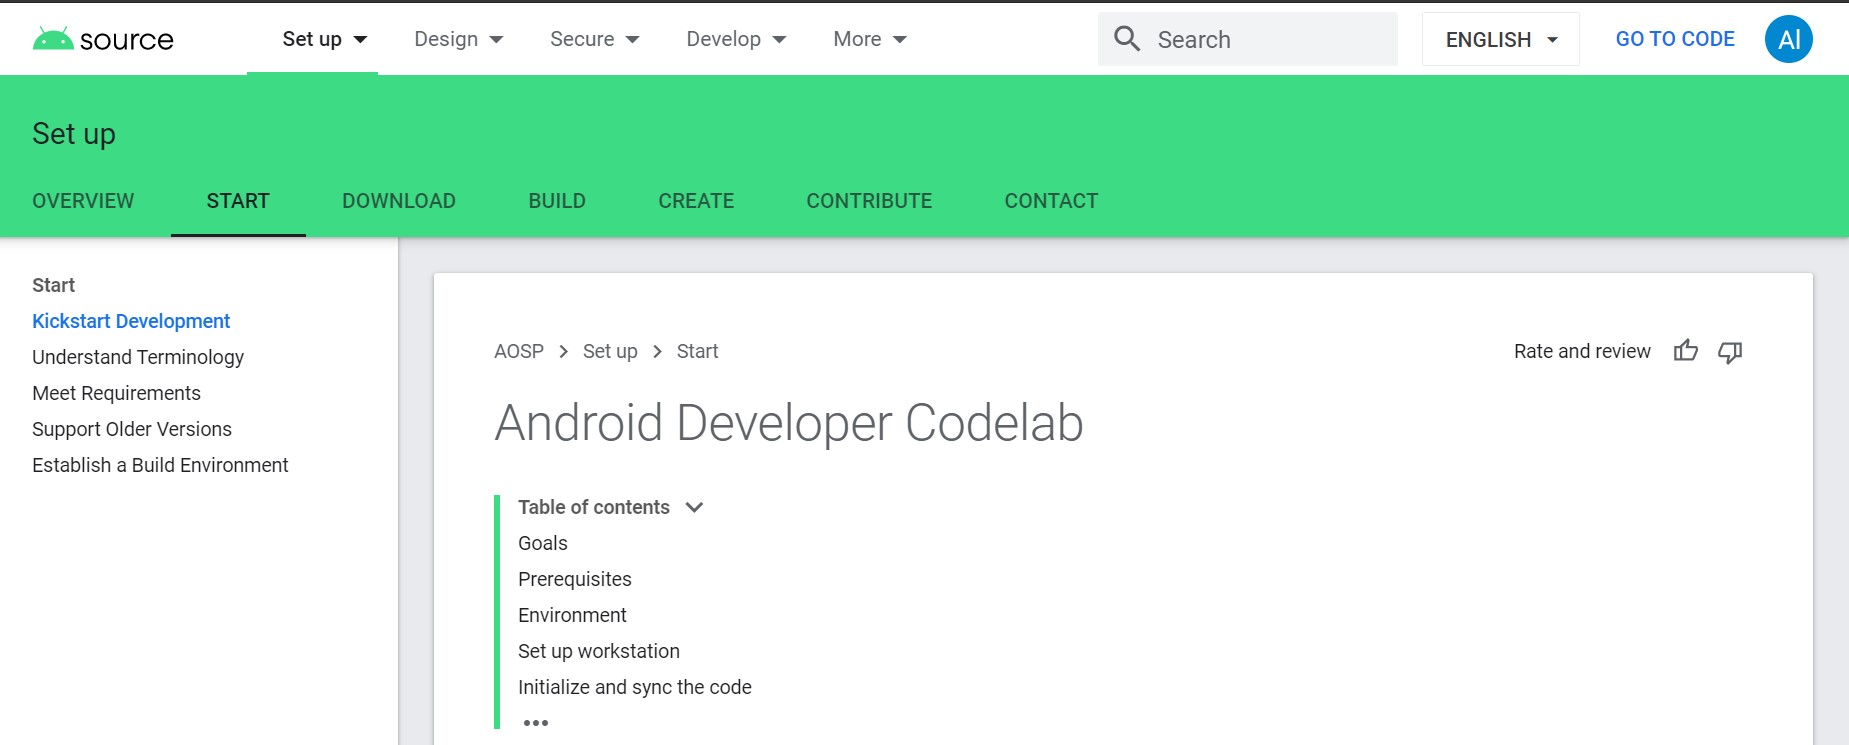
The next step is to set up your machine and perform a build by following Google’s codelab. This will give you a good idea of how long builds will take, verify your machine is configured correctly, and give you an idea of whether making your own build is something you want to invest time in. There’s a steep initial curve to make a build, and Google have already done a good job of covering it, so I’m not going to repeat the information here.
Step 2: Building for the device you’re interested in
Next comes the question that has a big impact on how much work you’ll be doing; Has someone already made a build for the device you’re interested in?
If someone has then you’re in a good place. If someone hasn’t then you’re in for a tough time, and I wouldn’t recommend trying to make a build for an unsupported device as your first Android firmware project.
To make a build for a device you need some build configuration files, and a “Board Support Package” (BSP). The BSP is a bundle of libraries and files which provide the interface between the hardware and Android. Some manufacturers have Android BSPs available, others may have Linux BSPs (which you will need to write additional code to use), and some don’t provide their BSPs at all.
For many Android devices you can find an existing project which has the BSP and configuration files you need. I’ve recently been working on getting Android Automotive OS up and running for the Galaxy Tab s5e, and the folks over at LineageOS have already got a working build which includes details on getting the BSP for the device. This means that I can start my work knowing Android can be built for the device.

Before making any changes you should follow the instructions from the folk who have already created the firmware for that device to make sure that you can create your own firmware build and deploy it to your device. Sometimes you may hit unexpected problems, so it’s best to start from a place where you have a working build. If the instructions from the folk who’ve created the build don’t work you can reach out to them and try to resolve the problems.
Step 3: Developing
During the first couple of steps you’ll have been introduced to a few utilities and tools, and one of the most
important ones is the build/envsetup.sh script. The envsetup script configures some environment variables
and other things which a lot of the other tools rely on, so, if you hit issues, make sure you’ve run envsetup
in the session/terminal window you’re currently working in.
You should download and install IntelliJ IDEA. IntelliJ is the default IDE for some scripts, so having it available will make things easier. You can use Android Studio, but if you’re working on lower level code you may find it’s missing support for some things (e.g. Rust).
Now you’re ready for the AOSP firmware development cycle;
Develop: aidegen
aidegen is a utility which will start IntelliJ with a project that contains a small subset of the firmware. The
idea behind it is that trying to edit the entire firmware code in one project will bring most machines to their knees,
so, instead, it creates views of the parts of the code for you to work on.
You specify which areas of the firmware you’re going to work on, and let aidegen do the rest. If, for example,
you wanted to work on the Settings app, you would run;
aidegen packages/apps/Settings
If you want to make changes to the launcher that’s used in cars;
aidegen packages/apps/Car/Launcher
If you want to work on multiple parts of the codebase you can supply multiple arguments, and aidegen will create a minimal project which supports what you’ve supplied.
aidegen isn’t perfect; There are some situations where you’ll get unresolved symbols if one part of the build has used
a transitive dependency, so you may have to add some projects to
your aidegen call get those to resolve, or you can leave them and not worry about it.
Build: clobber, m, mm, and mmm
Now that you’ve made your change you should create a new build. You can try to minimise your build time by
using mmm which will rebuild an individual project. For example, to rebuild the Settings app you would run
mmm packages/apps/Settings
or, if you’re in the Settings app in your terminal session, you can just run mm;
mm
Note that mm doesn’t need a project path, it assumes you want to rebuild the project where you run it from.
m is a shortcut for make which will check the whole build and rebuild everything it determines needs to be
rebuilt. This is sometimes useful if you’re seeing some unexpected failures when you deploy your image to a device.
m clobber is the way to clear out everything from previous builds. It’s something you should use if you think
that that your change isn’t being used due to a build caching issue. clobber is something you should avoid if possible because, as you
probably found out earlier, a full build takes a looooong time.
Deploy : Flash, OTA, or ADB
Depending on how big your change is you may need to go through the device flashing process again, you might need
to create an OTA update package, or you may be able to adb install the apk which has changed. You should
be comfortable doing all three.
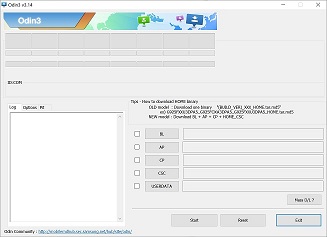
Flashing is device specific and ensures a particular area on the device only contains the files from your build. Sometimes there is a key combination which will take a device into fastboot mode which you can use to flash a device. Sometimes things a more complex; you’ll hear talk of custom tools like Odin. The information on the recommended way of flashing your device can normally be found where you got your original build from.

Full flashing images are large and flashing is a slow process, so you may want to distribute smaller “Over The Air” updates (OTAs).
Google has a page which covers OTA builds, and you can use tools like adb sideload to put them onto a device. The
only down-side of an OTAis that you’re not starting from an empty partition, so unless your OTA has been created to handle
removing unneeded files you may end up with unexpected additional code and files on your device.
The fastest method of all is updating a single apk. You can usually find the apks inside the out/target/product
directory in your build, so, if your change was only to the Car Launcher apk for the Samsung Tab s5e you can run;
adb install out/target/product/gts4lvaaos/system/priv-app/CarLauncher/CarLauncher.apk
If the app isn’t currently being used its apk can be updated like this, but, if you think the apk hasn’t deployed, you might want to restart the device to ensure the right version of the app is running.
Test: atest
Some projects in the AOSP have unit tests which you can run in the IDE. This is great for making sure that
your code hasn’t broken anything obvious, but there are usually some more extensive tests you can run, and for that
there’s atest.
atest has its own page on the AOSP site
explaining how you can set it up, and, at the simplest level, you can run it in the same way you ran aidegen
by specifying the project you want to test. So, for example, to test the Settings app after you’ve deployed
your changes and have the device responding to adb, you can run;
atest packages/apps/Settings
Repeat
Those four steps are your development cycle. You write your change, build it, deploy it, and then test it. It’s
initially slower than most app development because there’s a lot more code to initially build, but, by using aidegen
and keeping your changes small and isolated you can make a reasonable number of changes per hour and achieve a
decent development velocity.
Feedback
This is a quick brain-dump of what I usually take people through when they’re starting to build their own firmware images. If you have feedback on things that could be improved, added, or should be removed you can find me on Mastodon, GitHub, and Twitter.